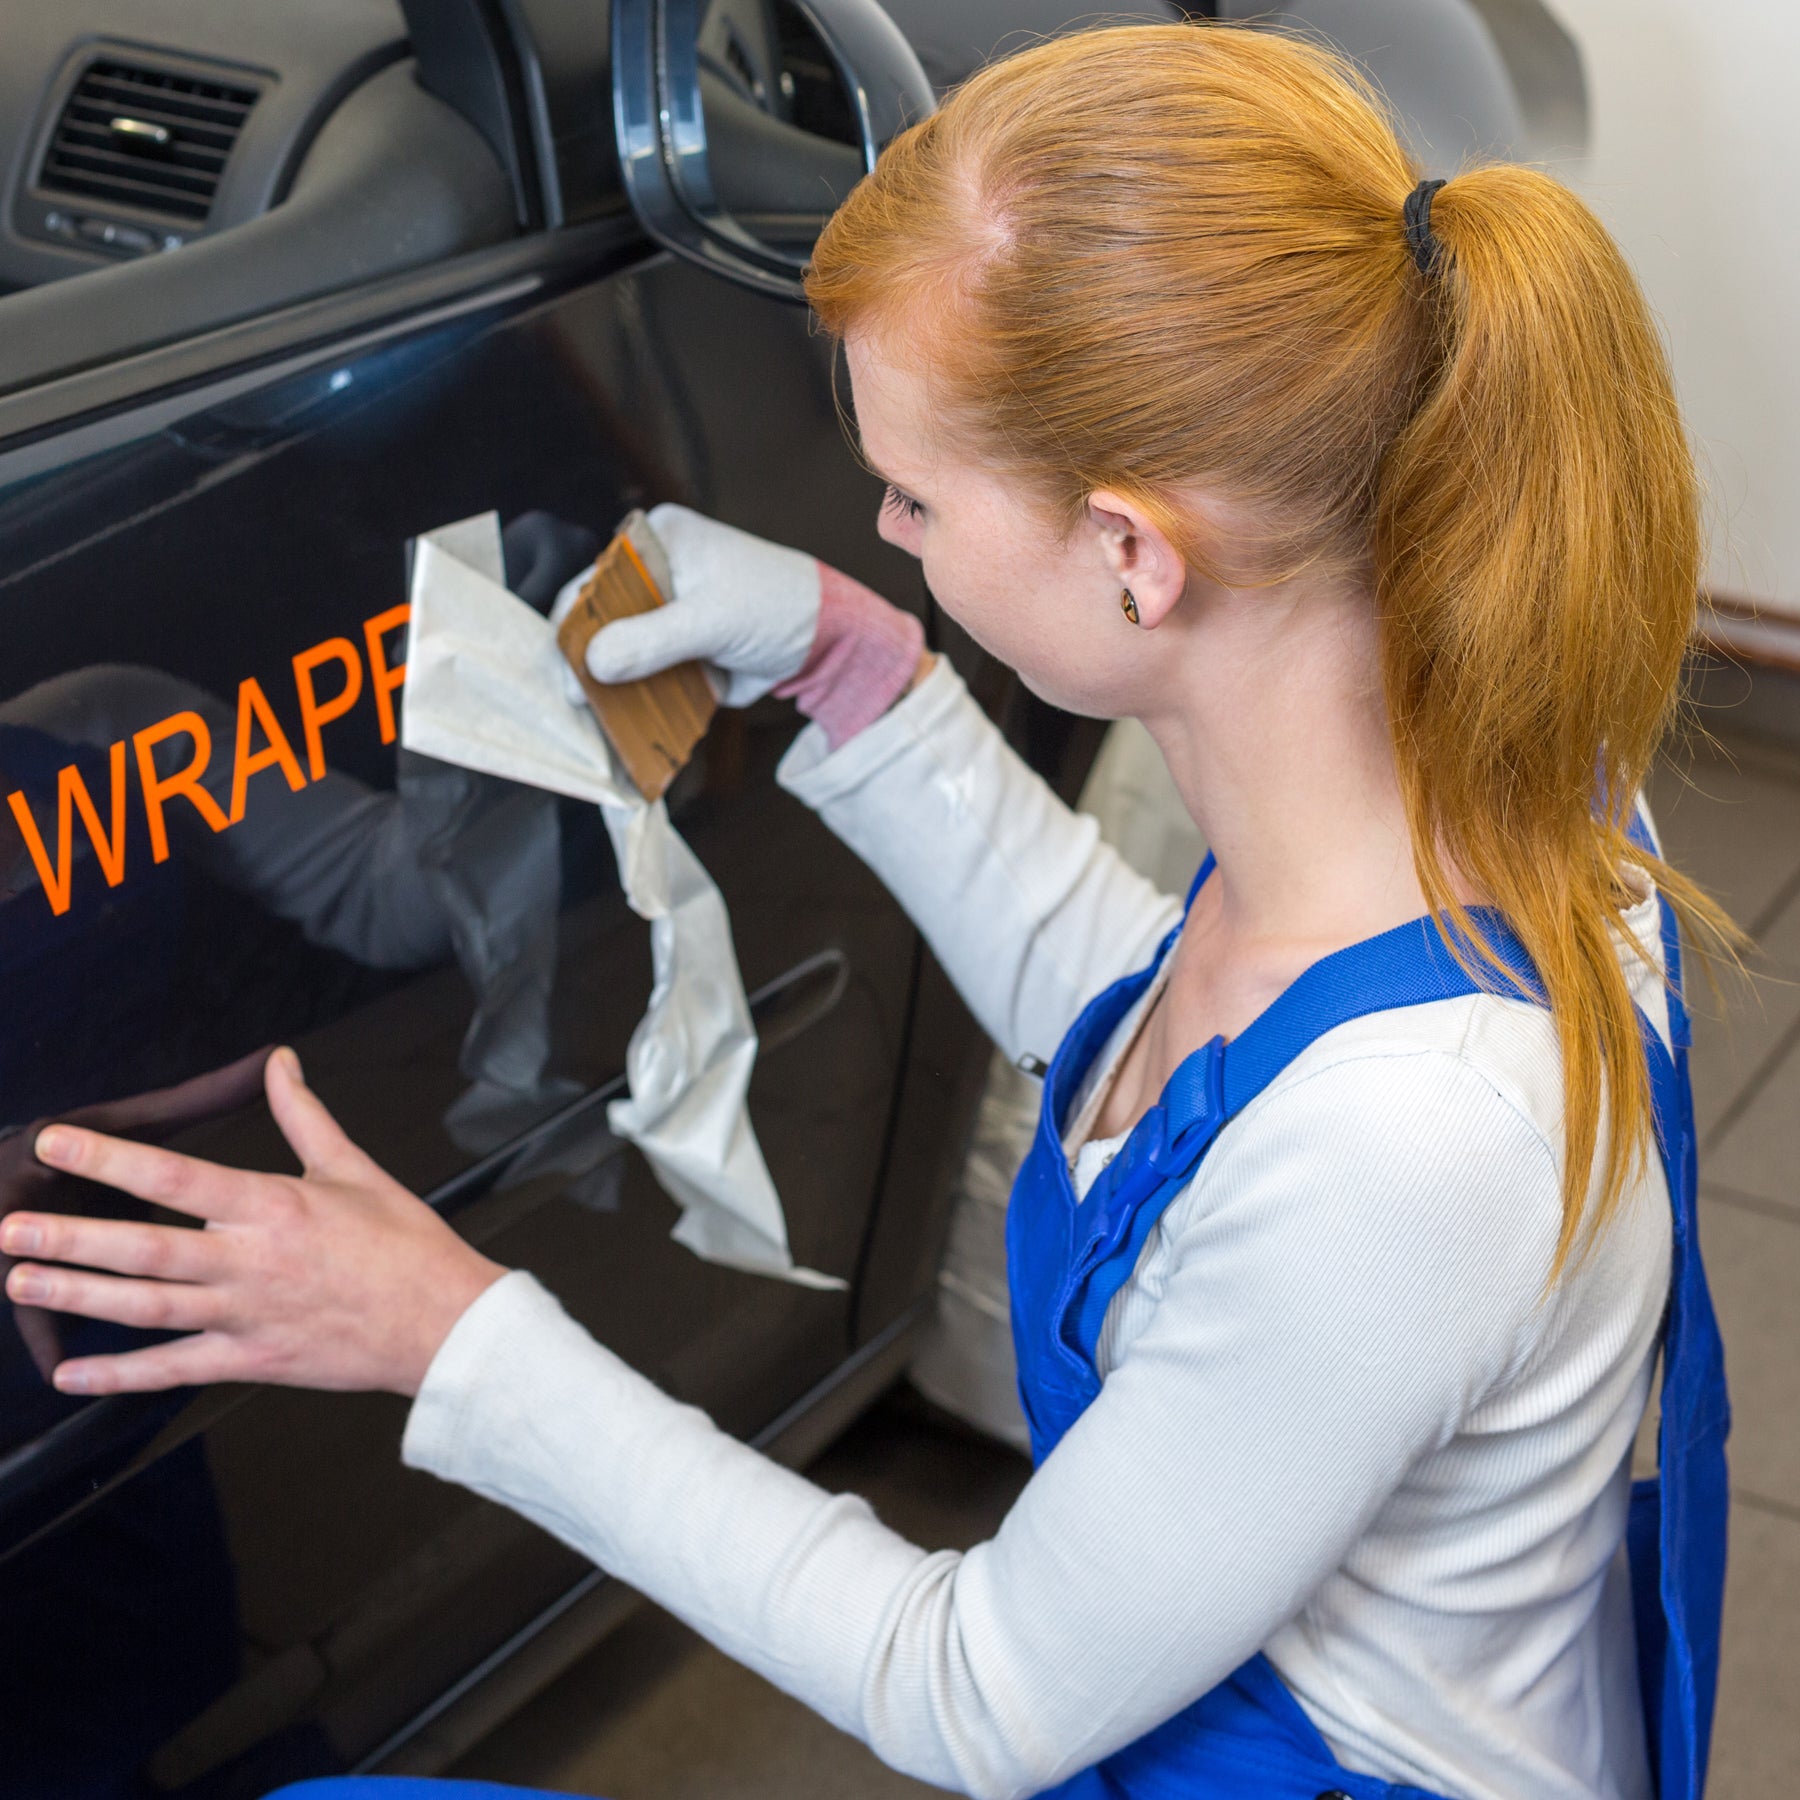
Install US DOT Stickers
Professional vinyl decals by USDOTNumberStore.com will meet US Department of Transportation regulations, and are the most affordable solution. Often times business owners aren't quite sure how to install them so they pay much more than necessary to have a professional do it. This post is to help you to have a general understanding of what a die cut USDOT sticker is and hopefully make installing your DOT stickers much easier.
Vinyl graphics are programmed by a computer and cut by a plotting machine. Once the lettering is cut, the unwanted vinyl is removed from the coated carrier sheet, a process the sign industry calls weeding, because we "weed" out the unwanted vinyl. The carrier sheet with the cut and weeded USDOT lettering is then covered with a low tack tape that resembles masking tape. When the lettering is ready to be installed on your truck, using the supplied squeegee, burnish the entire decal by going over it a few times applying pressure on a flat non porous surface.
1. After you burnish the complete decal a few times to help release them from the carrier sheet, you will want to position your complete un-peeled sheet in position. Measure and make sure the position is accurate. Using masking tape, anchor the complete sheet in position using two strips of tape, one at the top and one at the bottom.
2. Once anchored, peel half the vinyl off the carrier sheet. Lift one side of the US DOT decal image by its application tape. The vinyl image will adhere to the application tape. Using scissors or a zip knife, trim away the carrier sheet for that half of the decal.
3. Apply half the vinyl image to your surface. Hold the application tape with the DOT stickers so that it suspended slightly off the intended surface. Pull the tape taut so that the graphics will burnish smoothly on to the surface. Pro Tip! Don't pull to hard as you may release the masking tape anchors. Starting in the center, burnish the vinyl image using the squeegee. Apply pressure to evenly force the air from beneath the letters and numbers. Work your way to the outside edges of the application tape. Be sure to burnish every area of the graphic.
Repeat the steps above for the other side of your DOT decals. When the entire decal is applied, as a the final steps, you will want to burnish the entire sticker over and a over, many times. Burnishing the decal releases it from the masking sheet and helps the adhesive US DOT Numbers stick better to the vehicle surface. Once you have burnished them many times, applying pressure over the entire surface, you are ready to peel the application tape off slowly and at a slight angle.
To insure the US DOT Number stickers are adhered well to the surface, cover it with a piece of the carrier sheet shiny side facing out and burnish the stickers again. If you have any air bubbles, you can normally push those out using a finger if they are close to the edge. If they aren't close to the edge you can pop it with a pin and re-burnish it one more time. And remember, if you mess up, it's okay, just give us a call and say "hey, I messed up my decal, can you help and we will take care of you!
