Applying Your US DOT Vinyl Decals
So, you've gotten your US DOT vinyl stickers and you're ready to get them on your vehicle so you can get on the road! But, before we can do that, let's talk installation and the steps needed to make sure your graphic is applied correctly so you can have the long lasting, good looking graphics you deserve! Read the step by step install instructions below, or watch our tutorial!
Surface Preparation
After you've checked over your order, it's time to prep your vehicle! Take a cleaner like Windex or another mild detergent and clean the surface with a lint free cloth. Your surface will need to be glossy and as dust and defect free as possible.
Application
Now that your surface is sparkly clean and free of dust, it is time for positioning! After you determine the placement of your decal, make sure that it is straight by lining it up to a close straight edge, like a window sill or door. Double check your measurements with a tape measure for extra perfection!
Once you have it just right, take some tape (transparent or painters) and temporarily stick the decal where you want it with the graphic facing toward you. Take step back and admire your work so far, making sure that the placement is correct and that it is straight. If you need to reposition it, start this step over and give it another go. Make sure you do this before peeling the decal from the carrier paper as once the vinyl is exposed, it will be very tacky and stick very quickly and easily!
Securing Your Decal
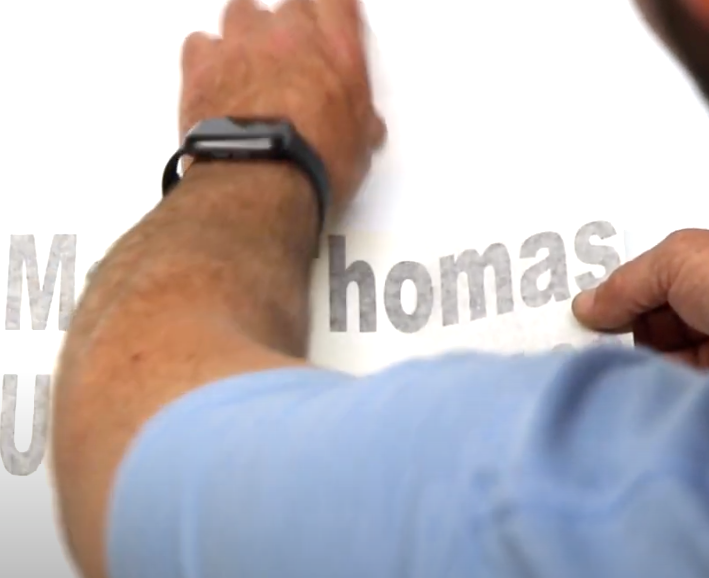
Your decal looks great and you are ready! First, be sure that your strips of tape are securely in place and not loose. Now, let's get this decal stuck on! Take a rigid credit card or your supplied squeegee and activate the adhesive backing. To do this, simply take the card in the palm of your hand and press the straight edge of the credit card and rub over your letters firmly. This will allow the graphics to stick to the premask so that the carrier sheet can be removed.
Once you have finished that, carefully remove the carrier sheet while holding it away from your vehicle using the tape as a hinge. Tack down the leading edge of the premask and begin applying as a sheet, using your squeegee or credit card to press the letters down an inch or two at a time until the whole premasked graphic is applied. Once the premask is down and all the letters are applied, go over your whole graphic once more with a firm pressing to ensure the adhesive really grabbed on.
Now peel that premask off and check out your hard work!
If you have any bubbles, most bubbles work their way out after a few days and it won't be the end all for your graphics. If you don't want to wait for them to fix themselves, a push pin or a safety pin can be used to poke a small hole and let the air out.
If you have more questions, or need to order US DOT Stickers or Magnets, contact us here!